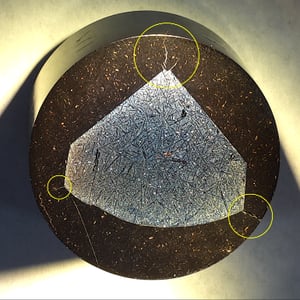
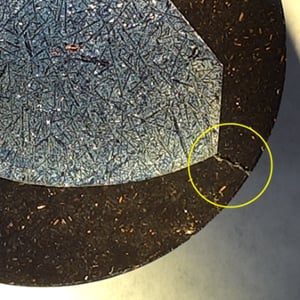
Cracks in your mount are never a welcome sight. While a scratched specimen doesn’t always have a cracked mount, a mount with radial cracks is far more likely to cause a future scratched specimen. While we covered the scratches in an earlier tip, we can’t ignore the cracks.
 |
 |
What causes radial cracks in a metallographic mount?
Most mounting materials do not possess high strength and can be quite brittle. When the cross-sectional area of the mounting material can no longer withstand the stress applied to it, it will fracture. This is most likely to occur where the mounting media layer is thin. It is usually recommended that there be at least a 3 mm (1/8 inch) gap between the specimen and the outside diameter of the mount. Sharp corners on a specimen can also act as stress risers, which contributes to crack initiation. If possible, sharp corners should be rounded off prior to mounting.
Are a few cracks in the mounting material really a problem?
Any crack or gap in a metallographic mount is a place for contaminants to hide. During grinding and/or polishing, liquid, which contains abrasive particles, can be sucked up into cracks and gaps by capillary action. Later, and always at the worst possible moment, these relatively large particles will be drawn out of the crack/gap and onto the polishing cloth. These “bandit” particles will cause objectionable scratches and permanently ruin the effectiveness of the cloth. Liquid drawn up into cracks and gaps can also cause staining of the specimen following etching.
Taking the proper precautions to prevent radial cracks can save you both time and money. If you are still experiencing frequent cracking even after correcting for the above causes, let us know. Contact us at met_tips@leco.com, and we will have an expert reach out to help you get your lab running smoothly once again.


