 To accurately perform a metallographic analysis of a sample, the preparation is critical. The microstructure and hardness of your sample has to be unveiled, and you have to be able to trust that what you're seeing is what is actually there and not just something inadvertently created in the preparation stages. When it comes to metallographic preparation, you really can't skip a step.
A proper metallographic preparation of a sample such as carburized steel has five or six steps, depending on the type of analysis you need done. The first step is sectioning. A thorough analysis does not require the entire part, but rather, just a representative sample. Sectioning the component in question brings a potentially bulky part down to a workable cross section exposing the area to be analyzed.
After sectioning the sample, it must be mounted. The sample is secured in an appropriate mounting material that allows for sharp edge retention and will grind away at the same rate as the sample in future preparation steps. While there are shortcuts that can reduce the time or expense of mounting samples, there are no shortcuts for using the proper temperature, time, and pressure during the process.
A mounted sample then needs grinding to create a flat and even surface. Any potential residue from the mounting process or damage from the sectioning process needs to be removed to expose the actual microstructure of the sample. It's important to keep flushing the debris away from sample as it is ground, and the grinding step should not be considered finished if the sample doesn't look uniform at the end.
Polishing the sample removes the deeper scratches left by the rougher grinding abrasives. The surface becomes shiny and reflective, and any remaining defects should be indicative of flaws in the sample itself, rather than a creation of the metallographic preparation process. It is not enough to simply grind a sample flat for an accurate microhardness analysis. Scratches left on the sample can deform the hardness test indents and cause inaccuracies in the readings.
If you are analyzing the microstructure of your sample, you will want to etch it immediately after polishing, to prevent oxidation from affecting your results. Especially when starting out etching, it is better to perform this process in several smaller steps than to try to fully etch the sample in one go. As Dave Coulston, LECO's Corporate Metallurgist, likes to say: "You can't unbake a cake." If you over-etch a sample, there is no going back.
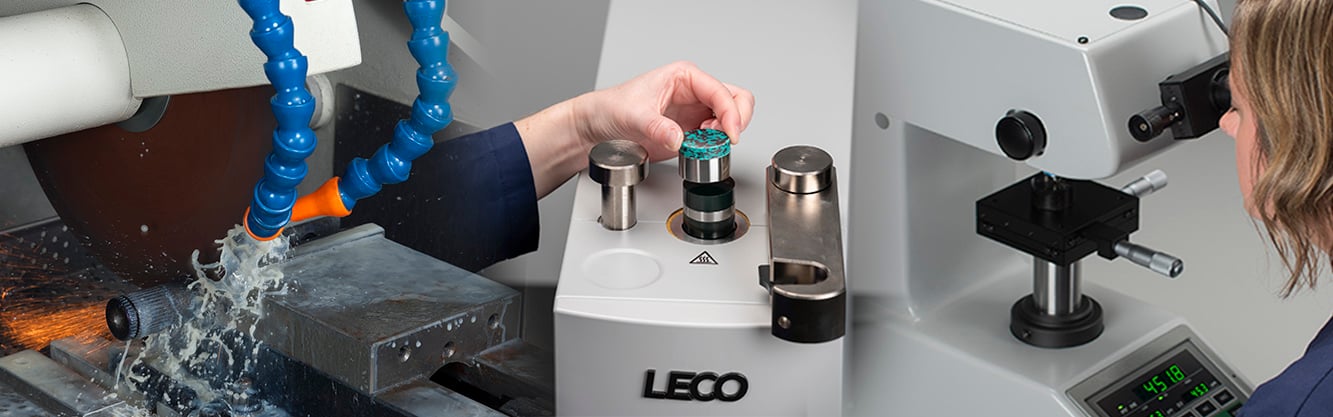
Whether or not you etch your sample, the metallographic analysis is the final step. Through hardness testing or microscopic image analysis, more of the makeup of your sample can be revealed.
Dave Coulston goes into more detail on the metallographic preparation and analysis process in the first of LECO's webinars on steel analysis. View these webinars on-demand today!